Installation Guides

INSTALLATION GUIDES
How to Install Peel & Stick Wallpaper
Get ready to learn how to hang Peel & Stick wallpaper. Simply peel away and then stick anywhere. The best part is, it is completely removable. Meant for any smooth, flat surface including walls, doors, entryways, cabinets, stairs, furniture, frames, mirrors and more, never has decorating your space been easier or more fun. Follow our step-by-step detailed hanging instructions below to get started.
Recommended Tools:
Sponge and gentle cleaner (to clean the wall), tape measure, level, ruler or straight edge, razor knife, scissors, pencil, plastic smoother.
Surface Preparation:
For best results, clean, dry and smooth all surfaces. Product will not adhere to unclean and textured finish, orange peel texture, drywall/primer finishes, matte or flat paint. Allow newly painted surfaces to fully cure for a minimum of 4 weeks before applying Peel and Stick Wallpaper.
IMPORTANT: PANELS ARE NUMBERED FROM LEFT TO RIGHT AT THE BOTTOM!
Step 1: Prep the wall
Step 2: Measure
Step 3: Position and peel back off
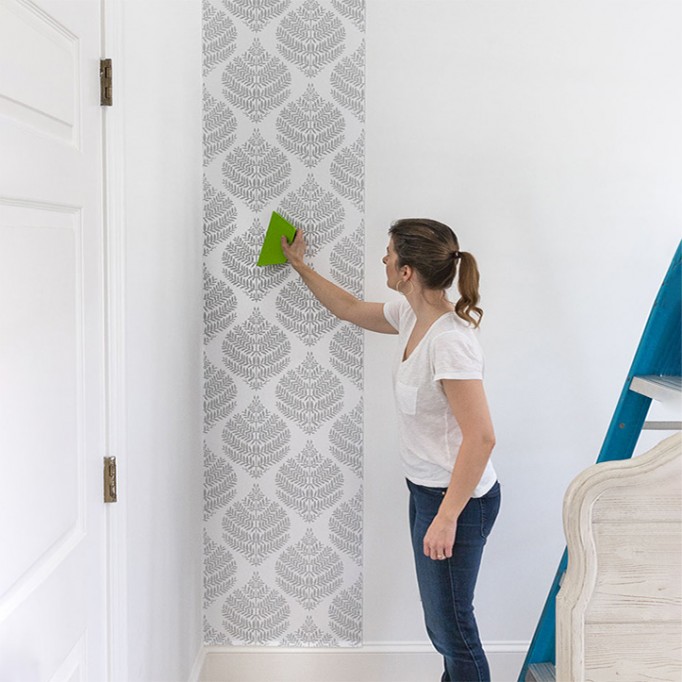
IMPORTANT: there is 0.5” overlap on each panel, make sure to align the design before sticking. Peel about 10” of the backing away from the paper. Apply the paper to the top of the wall, allowing a bit of excess to overlap the ceiling which will be trimmed off later. Align the right side of the strip to your mark and lightly press the edge to the wall.
Step 4: Apply wallpaper and trim
How to Install Non-Woven Wallpaper
To have perfect looking wallpaper we need a perfect wall. Firstly, it should be smooth, flat and without any cracks. The wall also has to be clean and dry. Pasted wallpaper has a noticeable strength so it shouldn't be pasted onto layers of old paint or wallpaper. Follow our step-by-step detailed hanging instructions below to get started.
Recommended Tools:
Undercoat, adhesive, protective foil, container for the adhesive, roller or brush for the adhesive, cutter, smaller brush, small rubber roller, pencil, spirit level, metallic ruler, papering tool, measuring-tape, ladder, soft cloth, sponge.
Step 1: Prep the Wall
Before you begin installing your wallpaper, prepare your surface and clear the work area. Make sure electrical outlets are off and remove wall fixtures. For best results, clean and properly prepare wall. Old wall coverings and paste residue should be removed.
To avoid any mess you should first cover the floor with some foil to protect it. Prepare the wall by applying the preliminary layer of undercoat on the whole wall. It will protect the wall from absorbing the moisture, improve the base and absorbability. This will ensure that the wallpaper will stick to the surface evenly and penetration will make it easier to remove the wallpaper in the future, as it prevents the adhesive to soak through the wall. In the markets there are many different kinds and brands of coating products, if not sure which one to choose, please ask the staff for a help.
Step 2: Measure
Start working next to the window. Beginning on the left side of your wall, measure out from the corner the width of the paper panel and mark the wall lightly with a pencil. Put your level on this mark and draw a straight, level, vertical line. This is the guide for your first strip, it is very important for it to be level. Check the strip with the rest of the rolls by placing them side by side to make sure you start rightly.
IMPORTANT: PANELS ARE NUMBERED FROM LEFT TO RIGHT AT THE BOTTOM
Step 3: Apply Wallpaper
Then paste the wall evenly with the adhesive paste – not the whole surface, just the area that will cover the first strip. Then attach the top of the strip to the wall and paste it along the marks you made. Align the top and bottom of the first length before “smoothing down” the wallpaper, the glue hasn't dried yet, so you can still adjust it to sit in it's place perfectly (that's thanks to the non-woven material qualities and also because we apply the adhesive only on the wall).
Step 4: Smooth Wallpaper
With the papering tool smooth the wallpaper – proceeding from the middle to the edges – this way you will remove any air bubbles and irregularities. Next paste the adhesive onto the area where the second strip would be hanged. The strips should be pasted next to each other. Press the adjoining edges of the strips thoroughly with a rubber roller, starting at the top, rolling downwards. The excess glue needs to be removed with a damp sponge and a cloth immediately. Never rub the wallpaper! Go on the same way with other strips
Then check all the edges and borders of the pasted strips. For the last adjustments and details use a little brush with adhesive and cloth and rubber roller.
Cut away excess parts on the top/down or in edges and trim product with a sharp razor knife.
Then check all the edges and borders of the pasted strips. For the last adjustments and details use a little brush with adhesive and cloth and rubber roller.
Cut away excess parts on the top/down or in edges and trim product with a sharp razor knife.